As a part of finishing up my time at Weaviate, I was lucky enough to keep my computer. It is a still-very-capable MBP with M1 Pro + 32GB RAM, which is a massive upgrade from my sad M2 powered by 8GB of RAM in an aluminium housing full of buyer’s remorse.
Few things excite me more than a new side project. Zero deadlines, no specification, and free rein on tooling. It’s the developer equivalent of a blank cheque. (Note to gen alpha - “cheques” are like promissory notes for money, but on paper, validated days after the transaction. This is as problematic as it sounds, and drove adoption of Google/Apple Pay and spawned an entire class of idioms1).
So I got to set up my new machine; and I thought I’d document what I ended up with, including some reasons why. Please note that this is an absolutely objective, definitive, and presumably only, guide to this topic. As such, I expect nobody to argue about this here or on the socials. Without further ado, let’s enter the world of a fresh Mac, from day 1.
My main goal was to find tooling that minimises distractions, and works well out-of-the-box.
Warm-up and essentials
I started by installing a password manager and the browser, then setting up the terminal and associated tooling.
To start, get installing Xcode and homebrew out of the way. You will likely need them both sooner rather than later, so just do it and do it now.
Before we go further, consider the wallpaper. The wallpaper will be there at all times, lurking, looking at you and judging you for choosing it to be your wallpaper. You need to get it right.
I’m a huge fan of BasicAppleGuy’s work. He produces some really high quality stuff for your Apple devices, both available at fairly low costs & also on a pay-if-you-want donation basis. I went with a predictably boring one, but I’m sure you can do better 😉.
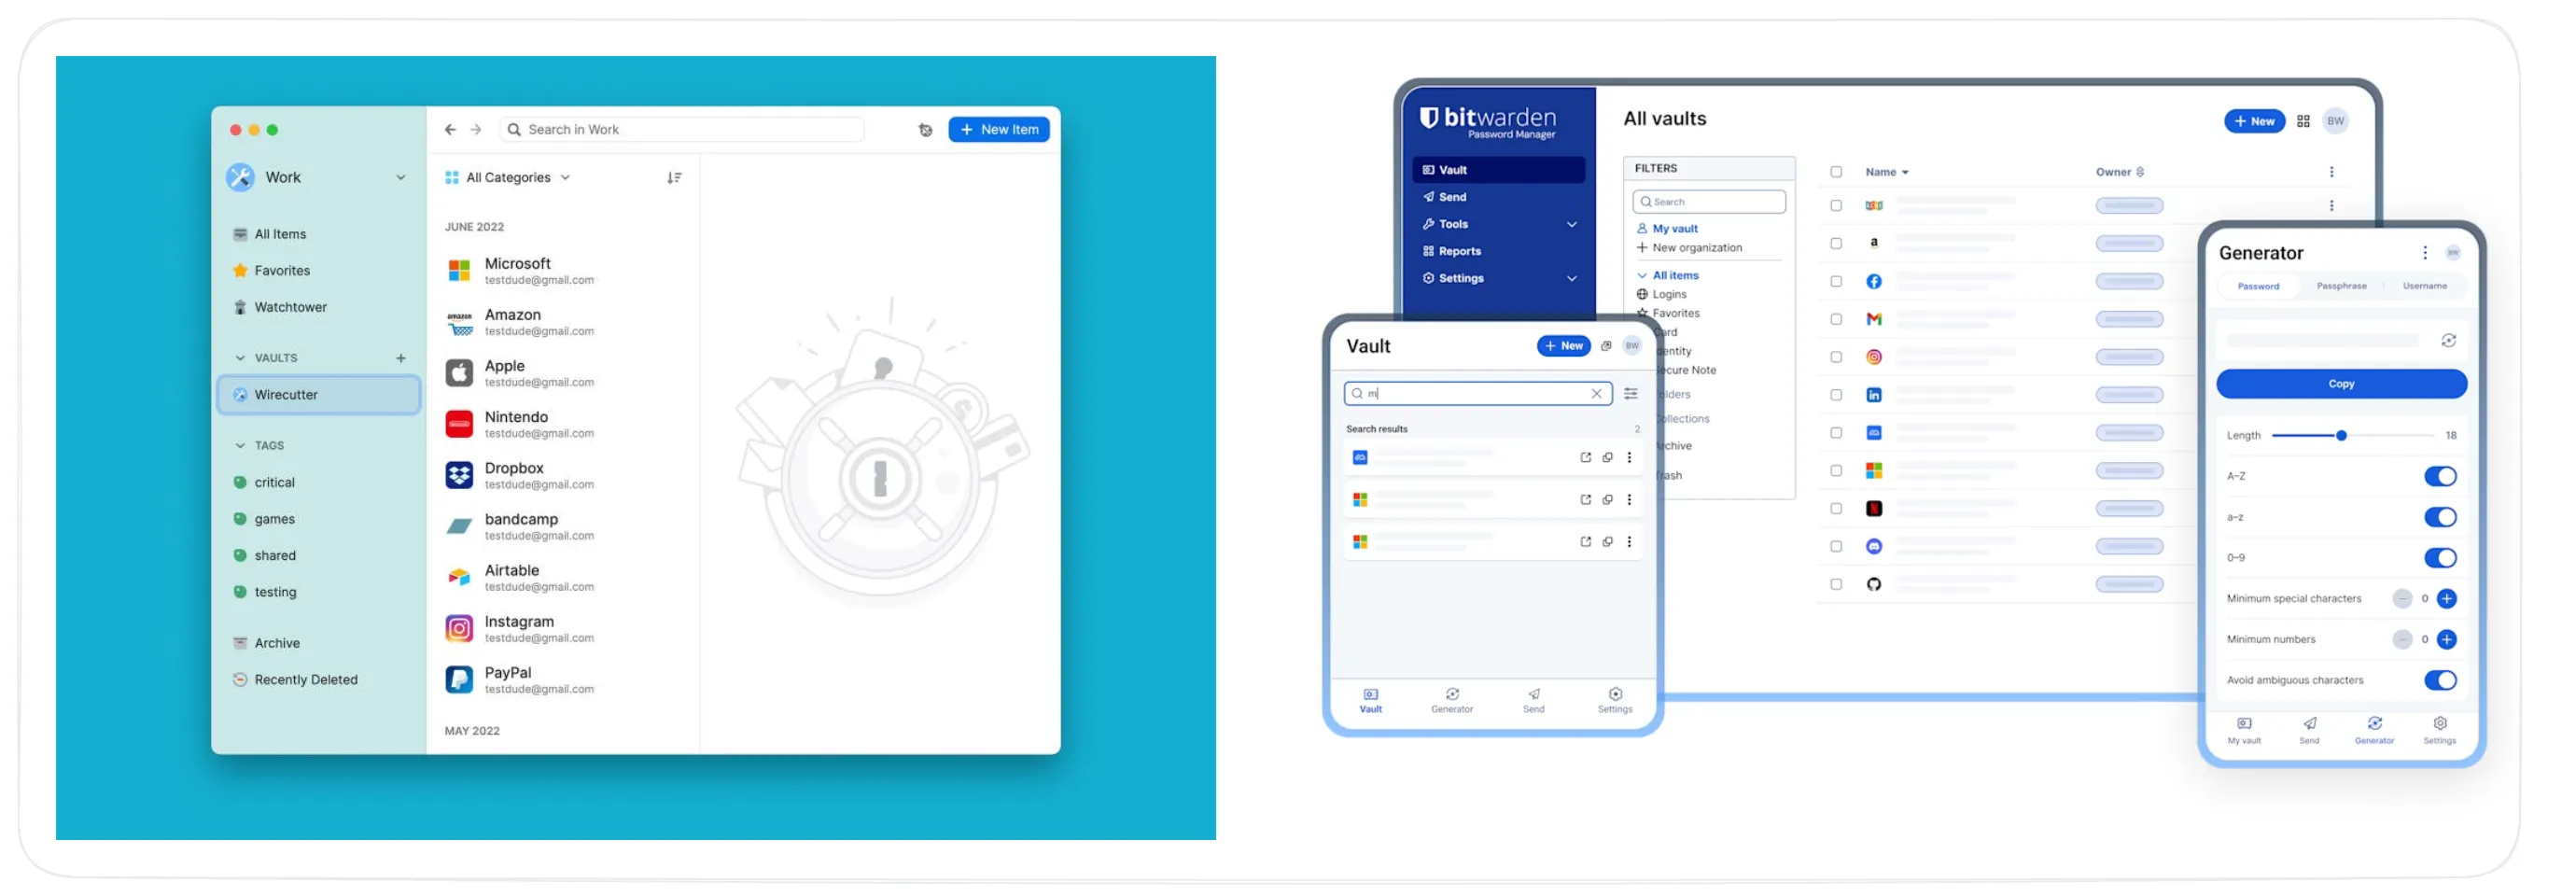
Password manager
I’m a 1Password guy. I migrated from LastPass to 1Password a few years back due mostly to the clumsy UX. In retrospect, I got lucky that the LastPass data breach happened after my migration, but this was entirely luck. Searches indicate that 1password & BitWarden are probably the most commonly used. There’s a lot of reasons to go with BitWarden - it’s source available, has more attractive pricing, an authenticator app, and so forth. I went with 1Password way back when due to the UX, but I may migrate if I can stomach the switching cost (time).
Browser
People have feelings about browsers. So I’ll just say - install your preferred one. I will say that I’m lazy, and my experience often involves a cycle of try some cool browser (e.g. Arc) -> become frustrated with obscure bug, incompatibility or development abandonware, and go back to one of the big 3.
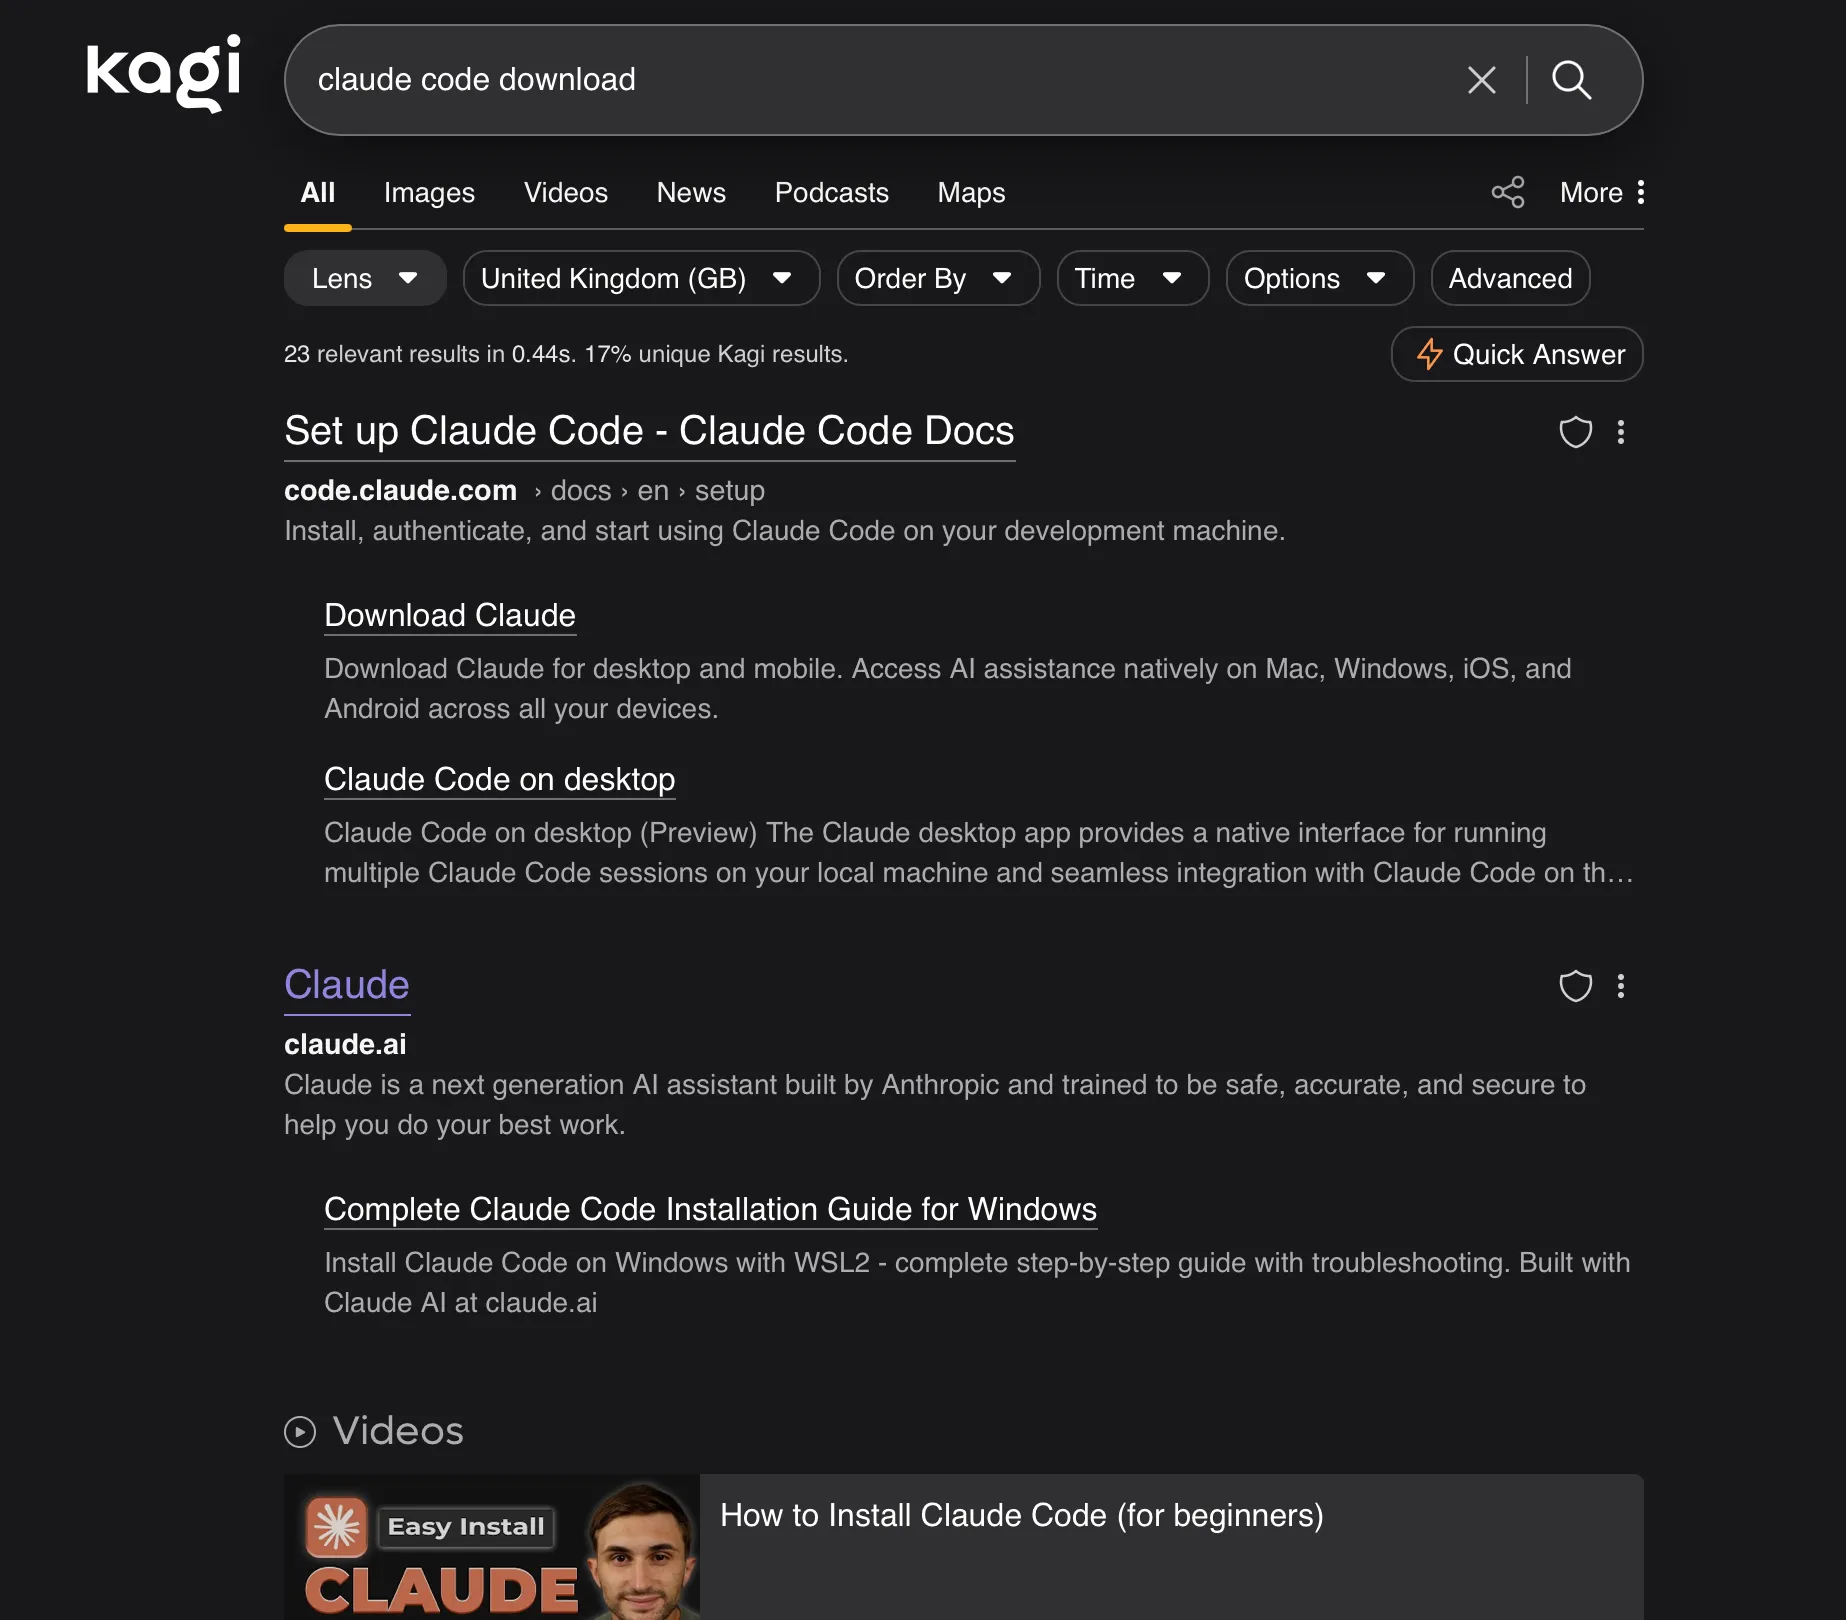
One important task for me was to install Kagi as the main search engine.
I don’t know what’s happened to Google (this guy has a theory), but I find their search presentation & dominance of ads downright silly. Here’s one such result (sigh).
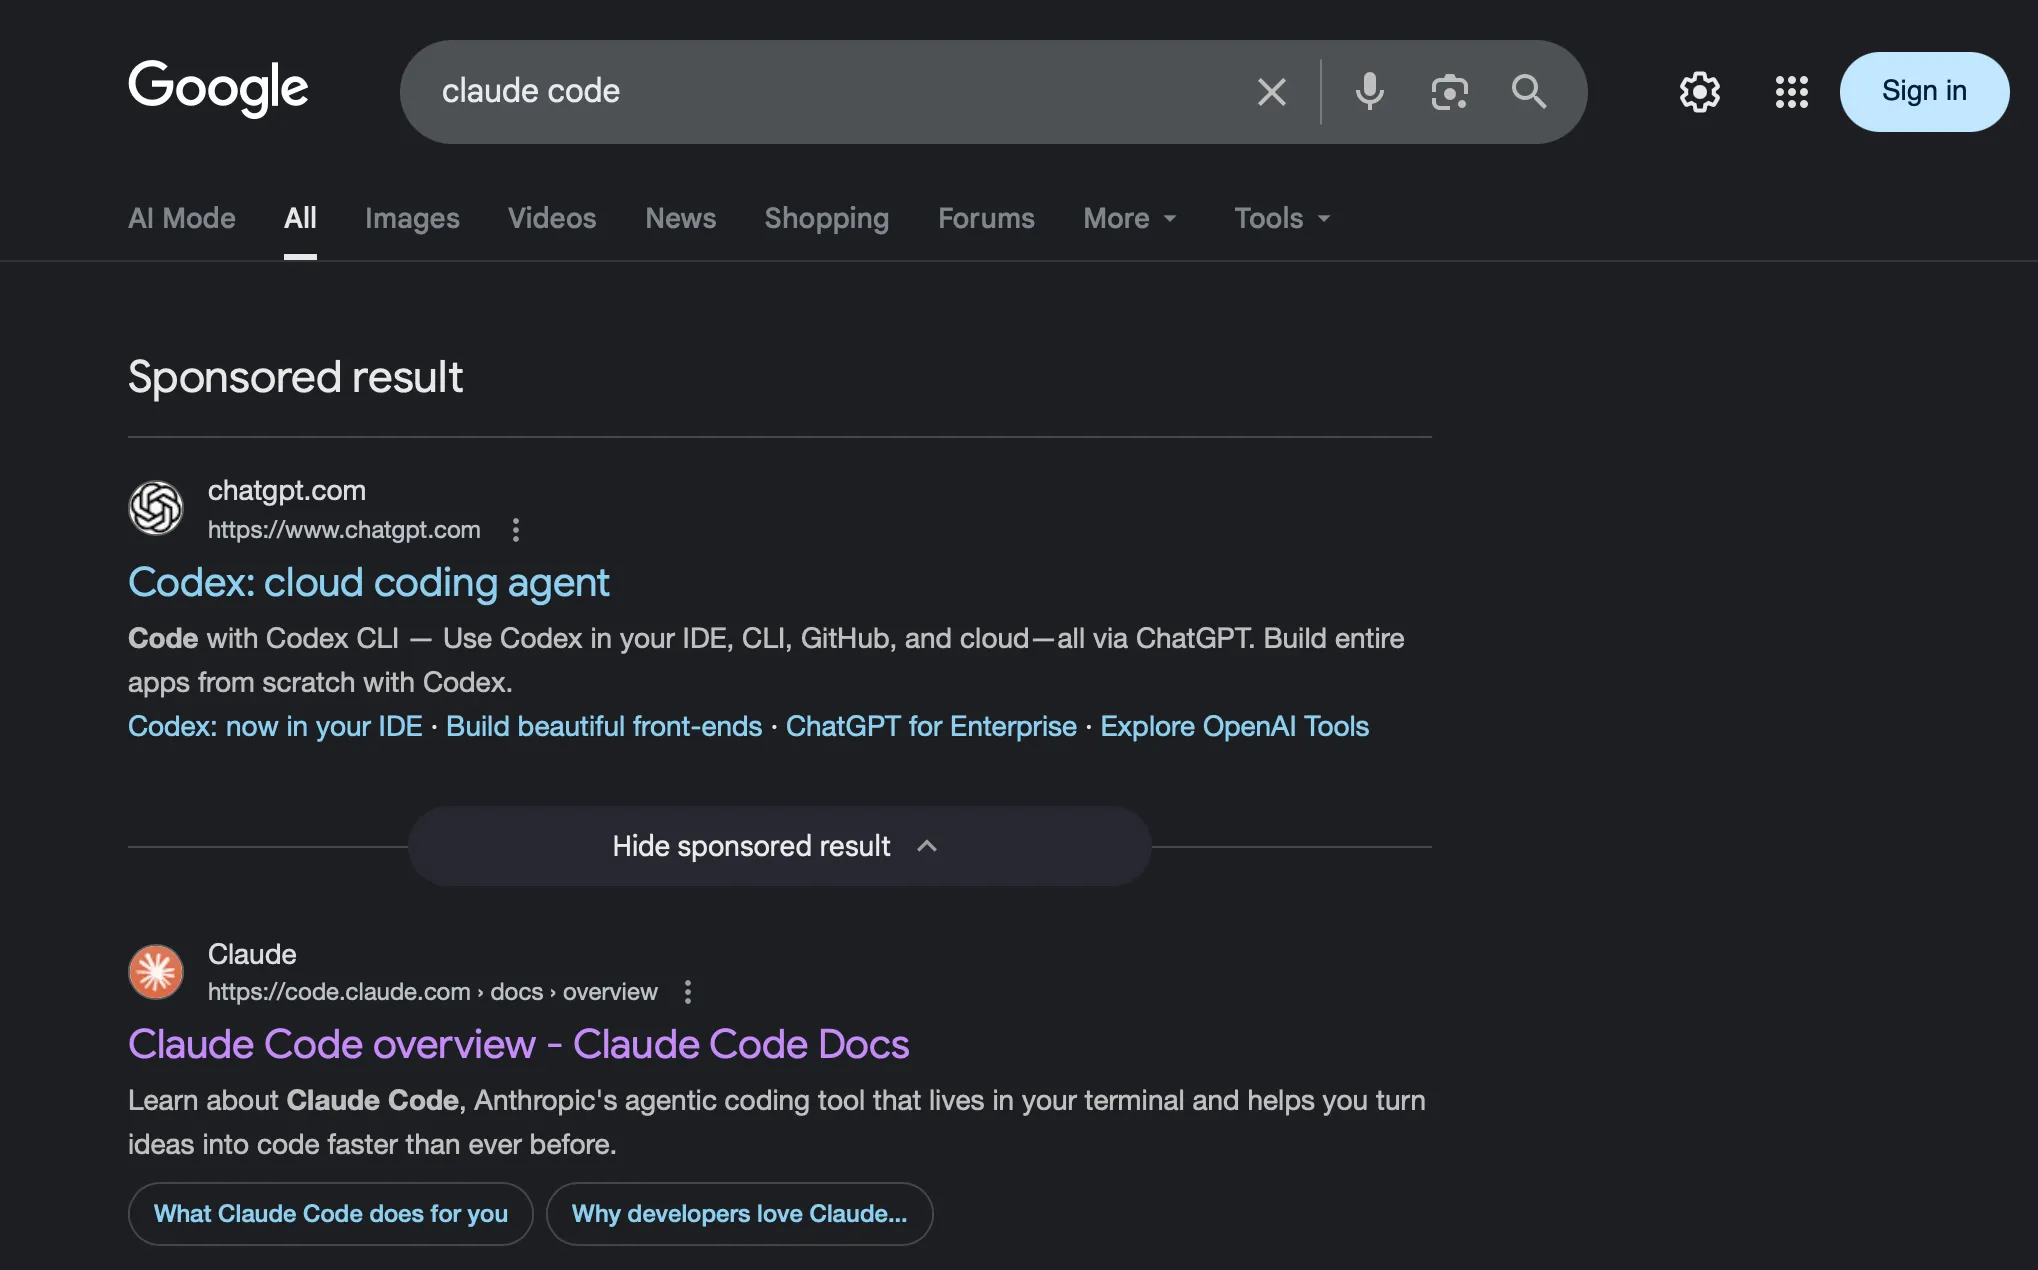
Sponsored results now look more and more like organic search results. When I ran the initial search, there were actually two sponsored search results, taking up most of the screen real estate at the default font size, even on my 16 inch MBP screen.
Instead, I find Kagi’s results to be more sensible more often. I’ve been happily paying for the service, and I’d recommend it.
Terminal
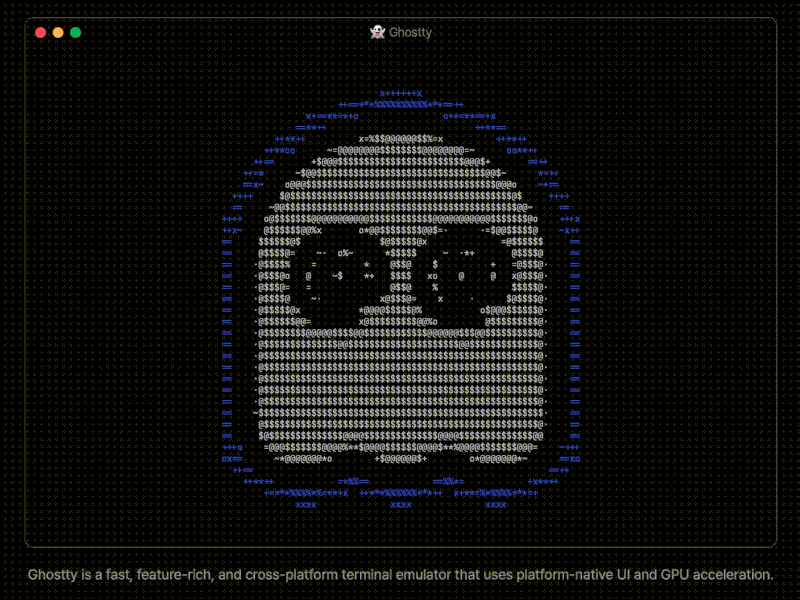
The default terminal is fine. But it’s 1) not going to win any design awards out of the box, 2) doesn’t show how cool I am. I used iTerm2 for a while, but a cursory search pointed me to ghostty. It’s fast, efficient, uses native acceleration, and isn’t bloated with random AI features.
Also, how can you say no to this little guy?
It’s not been long, but the experience with ghostty has definitely felt faster and easier than with iTerm2. I remember having to do a lot of customization with iTerm2, and I’m a bit wary of it adding features like browsing and some AI features, which I’m not sold on just yet.
Then I installed OMZ and Starship for shell customization. Why Starship vs Powerlevel10k? No big reason other than wanting to try Starship after 3 years of trouble-free work with OMZ. They’re both very capable and have large user bases - big enough for me to not worry about troubleshooting or running into big edge cases.
One tiebreaker is that P10k is said to be unmaintained. Sure, it’s worked perfectly fine for me the last few years, and zsh/OMZ isn’t likely to dramatically break P10k anytime soon. But still, peace of mind is worth something.
With this theme, this stack has been happily working for me, more than meeting my requirements of fast, convenient & works out of the box.
Wrap-up & next
So there you have it - essentials that took me from a blank Mac to a machine that feels a bit more “mine”. The goal was minimal distractions and maximum out-of-the-box functionality, and I’m pretty happy with where this landed.
Up next: IDEs and development tools, where I’ll surely face zero bikeshedding whatsoever. Stay tuned!
Footnotes
-
cheque is in the mail, live paycheck to paycheck, to take a rain check, the mouth is writing cheques that the body can’t cash, etc. ↩